SPRINKLER TALK FORUM - You Got Questions, We've Got Answers »
 Help with Troubleshooting / Service / Repair »
 Valves & Wiring »
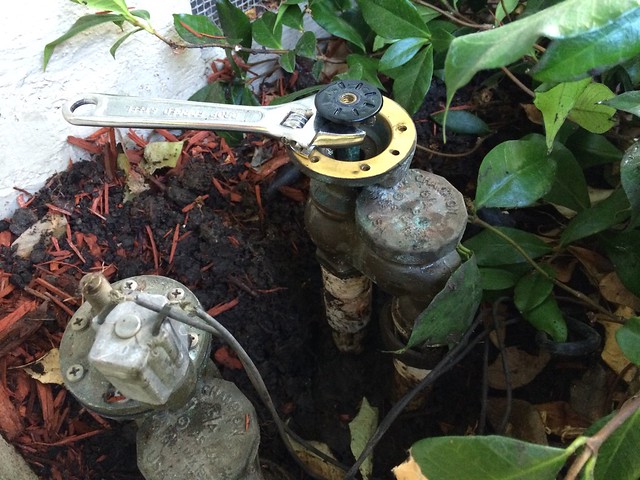
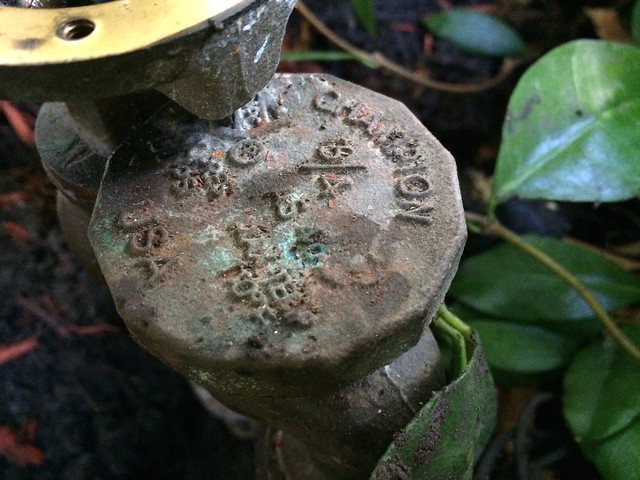
 Re-newing old Champion brass valves. »
Reply
Dear visitor, welcome to SPRINKLER TALK FORUM - You Got Questions, We've Got Answers. If this is your first visit here, please read the Help. It explains how this page works. You must be registered before you can use all the page's features. Please use the registration form, to register here or read more information about the registration process. If you are already registered, please login here.
Attention: The last reply to this post was 3516 days ago. The thread may already be out of date. Please consider creating a new thread.