 SPRINKLER TALK FORUM - You Got Questions, We've Got Answers »
 Help with Troubleshooting / Service / Repair »
 Valves & Wiring »
Dear visitor, welcome to SPRINKLER TALK FORUM - You Got Questions, We've Got Answers. If this is your first visit here, please read the Help. It explains how this page works. You must be registered before you can use all the page's features. Please use the registration form, to register here or read more information about the registration process. If you are already registered, please login here.
Similar threads
-
- Backflow Devices »
-
 Where to get Lawnlife parts
(Jun 25th 2012, 7:57pm)
Where to get Lawnlife parts
(Jun 25th 2012, 7:57pm)
-
- Control Valves »
-
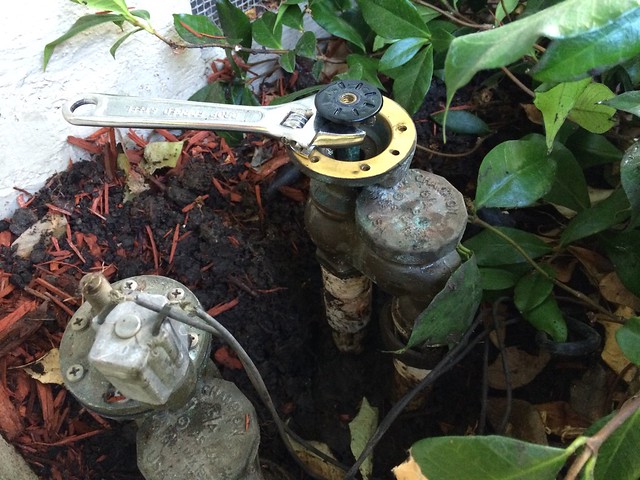
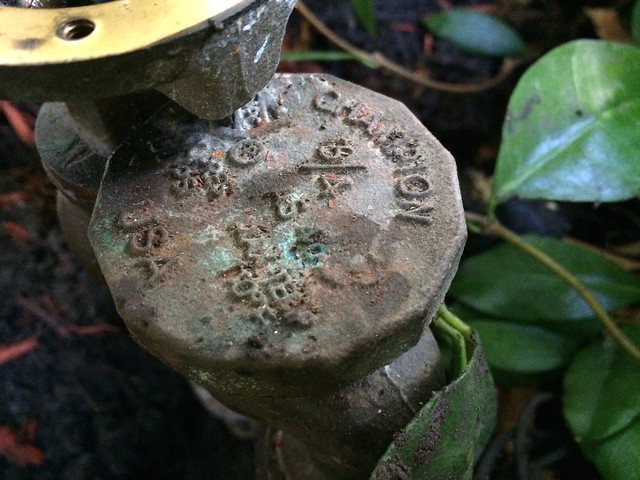
Brass Champion 1" Control Valve - dribbling water
(Jun 4th 2009, 10:34pm)
-
- Backflow Devices »
-
Backflow Device Recommendatation
(Mar 17th 2007, 12:53pm)
-
- Control Valves »
-
Need to change control valve
(Nov 23rd 2006, 7:10am)